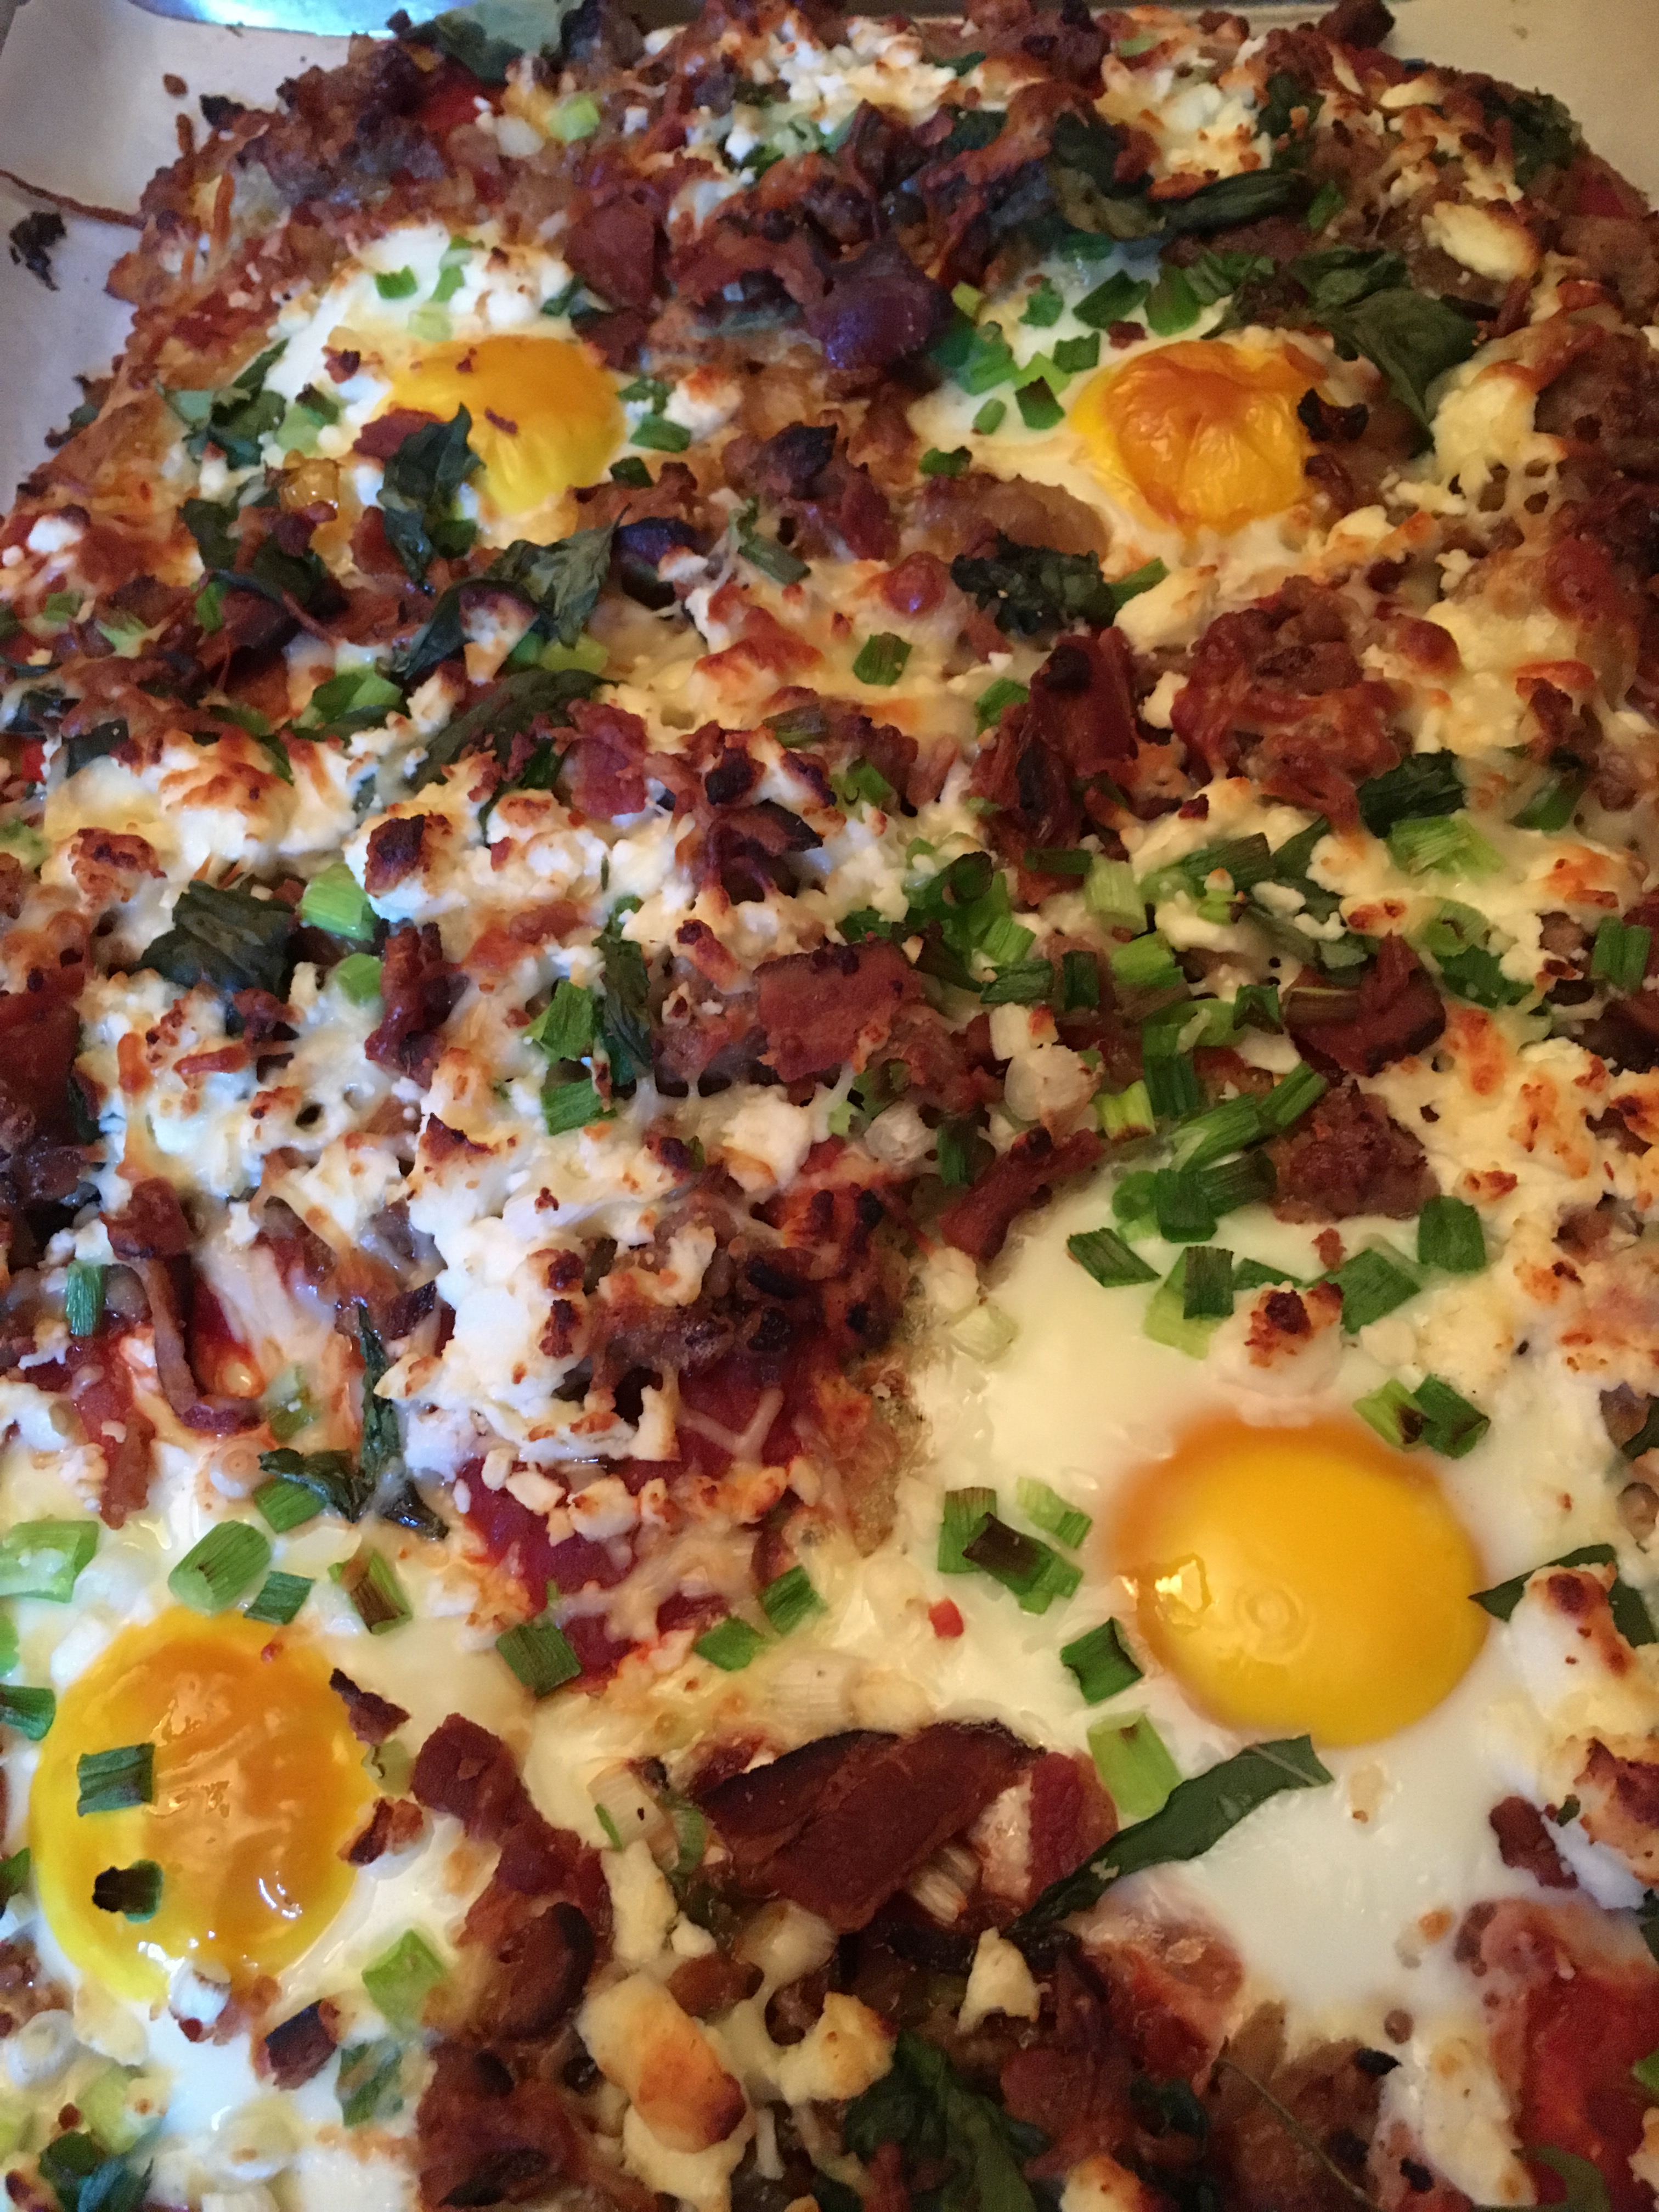
Gluten Free Breakfast Pizza with Sweet Potato Crust
One of the things I miss the most being on a Paleo/Primal diet is BREAD. In that category would also be a nice, not too thin pizza crust that I have never been able to replicate with cauliflower. I also wanted to be able to PICK UP the slice of pizza and not have to use a utensil. A lot of gluten free pizza recipes require and knife and fork and leave me feeling like I am eating some sort of soggy polenta dish with tomato and cheese on top.
I finally came up with a ratio/blend of ingredients that make a great gluten free crust, and I will probably never make a cauliflower crust again. I felt confident enough about the crust recipe’s texture and flavor that I made it at the 2017 California State Fair Cooking Demo on the last morning of the fair. Try for yourself, and use the following crust recipe as a base for any kind of pizza you want to make. I am posting the exact recipe below that I made at the California State Fair. 🙂
PS: You’ll need a food processor, 3 sheet pans (at least 9 by 13) a cook top of some kind, and an oven to make this! (Just throwing that out there!) For the oven, place one rack in the middle and one nearer to the top.
Crust Ingredients:
2 large sweet potatoes (you can use orange or white, whatever you prefer)
1 1/4 cup nut flour of your choice (I used a ground pistachio/almond blend)
3 eggs
3/4 cup grated parmesan cheese
1/4 water
1/4 cup olive oil
1/2 Tbs garlic powder
1/2 Tbs dried oregano
1/2 tsp sea salt

Step One
Peel and cut your sweet potatoes into roughly 1-2 inch squares and pre-cook them. You can do this any way you want, but I would stay away from boiling them because this will leave them waterlogged and soggy. My shortcut is the microwave. Cook them until they will mush between your fingers with almost no effort. You can also bake them if you want. Tip: Cook potatoes the night before, or even a few days before to shave a little bit off your pizza prep time.
Step Two
If you are making the breakfast pizza, this is the part where I go ahead and PREHEAT the oven and cook my bacon for the topping at the same time. Even if you’re not making the breakfast version, SURELY you’ll want bacon on your pizza anyway! 🙂 This is an easy way to get the bacon super crispy without burning it. I use a sheet pan lined with parchment paper to cook the bacon. While you’re at, go ahead and line THREE sheet pans with parchment paper. Two you will need for the pizza crust, so parchment paper line them and set them aside for now. The remaining pan will get a layer of parchment and then your 6-10 slices of bacon. Don’t crowd the pan too much, or the bacon won’t cook evenly and it won’t render (get crispy). Once you’ve put the bacon on the sheet pan, place it in the oven and THEN turn the oven on. Heat it to 400°F. You’ll want to cook the bacon slow, so a cold oven is OK to begin with. By the time you’re ready to put your crust in the oven, your bacon will be almost ready and your oven will be the temp you need it. Now on to the crust!
Step Three
Grind the nuts of your choice (I used a mixture of pistachios and almonds–1 cup ground pistachios, 1/4 cup ground almonds) until they look like coarse sand/start sticking to the sides of the food processor bowl (we don’t want nut butter, just finely ground). Pulse in your parmesan cheese. Add the salt, garlic powder and the dried oregano. Then begin adding your sweet potatoes in stages. You will need to add the water, olive oil, and 3 eggs in between adding the potato pieces so that the mixture continues to blend well. Depending on the size of the potatoes, you might not need to add all of them. Consistency-wise you are looking for a thin cookie dough, but thick cake batter. It won’t be the consistency of pizza dough from a pizza parlor, it will be more loose than that.
Step Four
Spread the dough mixture onto the other parchment-lined pan. Spread evenly across the pan, no thinner than a 1/2 inch thick. At this time, you can check your bacon. It may or may not be done depending on the thickness of the bacon slices. If it is not done, you can leave it in on the top rack and set the timer to remind you to check it (I go in 5 minute increments). Also, make sure to pour any excess grease off of the pan. Pour the grease into a coffee cup or something you can retrieve it from for later use (I will get to that later!) Place the dough pan on the middle rack and bake for 10-12 minutes.
Sauce Ingredients:
15 oz can crushed tomatoes
3 Tbs tomato paste
1 Tbs chopped garlic
2 Tbs chopped fresh oregano
1/3 cup chopped fresh basil
1/2 tsp salt
Step Five
If you want, you can buy a jar of pizza sauce and skip this step all together. I do this when I am pressed for time. If not, add your crushed tomatoes, paste, and herbs and salt to a saucepan and cook together while the pizza crust does it’s first bake for the 10-12 minutes. You will be simmering the sauce until you need to use it. Also, the bacon should be getting done by now, so check it again and take it out if necessary.
Sausage and Shallots Preparation Ingredients:
2 shallots
Reserved bacon grease
1 lb ground turkey
Step Six
While the sauce is cooking and crust is baking, dice up the shallots. Then, in another saucepan separate from the one you used for the tomato sauce, pour some of the bacon grease you reserved from earlier, heat it up, and sauté the shallots until they are translucent. Add the ground sausage (turkey or pork, whatever your preference) and cook with the shallots, allowing the meat to cook through and brown. When the meat is browned, turn off the heat and set aside. At this point, the first bake of the crust is probably done, so go ahead and take out the crust and place the pan on a heat safe surface.
Step Seven
At this point, fetch the third parchment lined pan, and invert it, making sure the parchment paper stays put. Place it on the top of the crust and flip it over. This is so the pizza crust will cook through/dry out, and you will be able to pick up the pizza/not eat with a fork! Your oven should still be at 400°F. If you are making the breakfast pizza, this is the part where you will peel the parchment off the top of the crust, use the back of a spoon and make little “wells” on the pizza. I make 4 wells for 4 eggs. The wells I am describing are little indentations so that when you crack the egg on the pizza crust, it will not run all over the top. Instead, it will be captured in the little bowl you made for it. Once you have made the wells and cracked the eggs into them, carefully place the crust into the oven for another 10 minutes. This time, use the rack that is higher in the oven, so the eggs will set.
Toppings:
1 bunch green onions
½ cup sun dried tomatoes
6-10 slices bacon
2 cups grated mozzarella cheese
Step Eight
OK, we’re almost done! For final prep, chop the green onions and set aside. Also, chop the bacon you prepped earlier and set aside. I also like to measure out the sun dried tomatoes and the cheese and put everything in a row (so I don’t leave anything out). It’s like a little pizza assembly line. 🙂
Step Nine
Take the crust out (the eggs on top should be almost set). Turn the oven temp up to broil (low), you will need to use the oven one last time after you top the pizza (so that the cheese will melt). Begin with the tomato sauce and spread around the crust, being careful to avoid the eggs on top. Then add the sausage, bacon, sun dried tomatoes, green onions, and top with the mozzarella cheese. You should still be able to see the eggs through the toppings.
Step Ten
Place the pizza back in the oven until the cheese on top melts and browns. I like to keep an eye on the pizza through the window on the door of the oven to prevent over-browning. Once the cheese on top is melted, take the pizza out, allow to cool 5-10 minutes before cutting. This is the part where I set the table. By the time I am finished setting the table, the pizza is ready to cut and serve!
Did I leave out anything? Do you have questions? Contact me here!
For other adventures in gluten free pizza, you can click here and here. There’s even here.
If you don’t already, please follow me on Facebook here, on Twitter here, and on Instagram here. Thank you, and please enjoy the recipe! 🙂
Pre-Holiday Grand Tasting at Matteo’s Pizza and Bistro Set for Mon, Nov. 14th, 5:30-7:30pm


This premium wine tasting probably should have been held on Halloween because the wines you’ll get to try are SCARY GOOD. Admission to the event is only $30 per person AND you get food during the tasting! Sounds to me like you should already be penciling this event onto your calendar with a giant permanent marker, but if you need more convincing read on…
First, the tasting is on Monday, November 14th from 5:30-7:30pm. So, if you have plans, cancel them and do this instead! Seriously, if you like great wine at all, Matteo’s Wine and Bistro/Matteo’s Cellar Wine Shop is the place to be.
The food menu served will be: pizza, polenta fries, meatball sliders, empanadas, a bread and cheese tray. So I guess I am running 10 miles that morning. 😉
The tasting will include wines from the following labels:
*indicates a cavegrrl.com favorite
Archery Summit, Arrowood, Bella, Brassfield, Bridesmaid, Borjon, Canard-Duchene, Carmenet, Chalk Hill*, Cliff Lede, Dominus, Don & Sons, Double Canyon, Duckhorn*, Dutton Goldfield*, Fisticuffs, Flowers*, Freemark Abbey*, Fuse, Gerard Bertrand, Groth, Guigal*, Hall*, Hartford Court, Hourglass, Jeio, Kansler, Lewis Cellars, Maldonado*, Mer Soliel, Obsidian Ridge, Petree Cellars, Pine Ridge*, Pride Mountain Vineyards*, Raeburn, Regusci, Resonance, Robert Craig*, Roederer*, Sonoma Cutrer*, VDR, William Harrison*, Yao Ming*
As you can see by the asterisks, a lot of my favorites will be served during the tasting, and I am looking forward to tasting some new favorites I can recommend to you.
To reserve your spot please email Margo(at)pizzamatteo.com. Cheers and hope to see you there! You can find Matteo’s Pizza and Bistro on Facebook here.
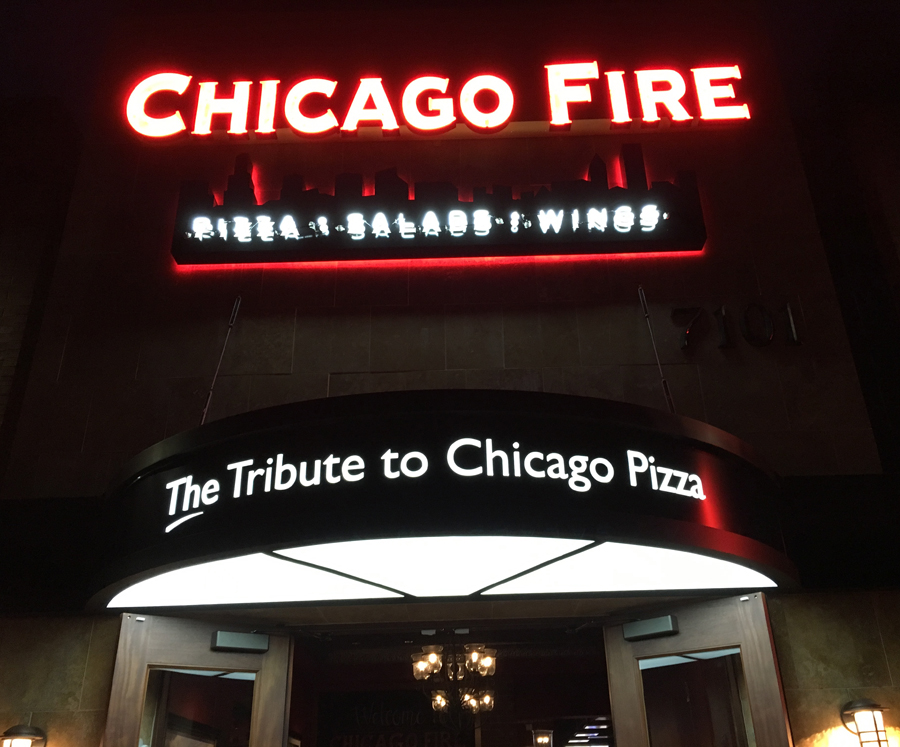
Elk Grove Welcomes New Chicago Fire Location

Last Saturday night Andy and I attended a pre-opening dinner at Chicago Fire‘s newest location: 7101 Laguna Blvd, Elk Grove. The pre-opening lunches and dinners were held both on Friday and Saturday in an effort to train the staff and to ensure consistency amongst the other four Chicago Fire locations.

The weather was terrific, so we decided to sit on the patio. The dinner was complimentary for us except for alcohol (and was also free to everyone invited). It included an appetizer, a salad, a pizza and a dessert to share between us. The limitations on food were mainly because it was a training night and an effort to control conditions in service and in the kitchen. It’s kind of like when you are a brand new runner. You don’t just start out running a marathon. You train up to that distance. Likewise, the staff in the new location were learning to run in ideal conditions, a few miles at a time.
I was very excited to be there because I have loved Chicago Fire for a long time. I think it’s a great place for celebrations or just a dinner for two. Also I work for a printer in Roseville (yes, I have a day job) and we print their business cards and takeout menus as well as a few other items. The people running the show at the restaurant are great to work with altogether.
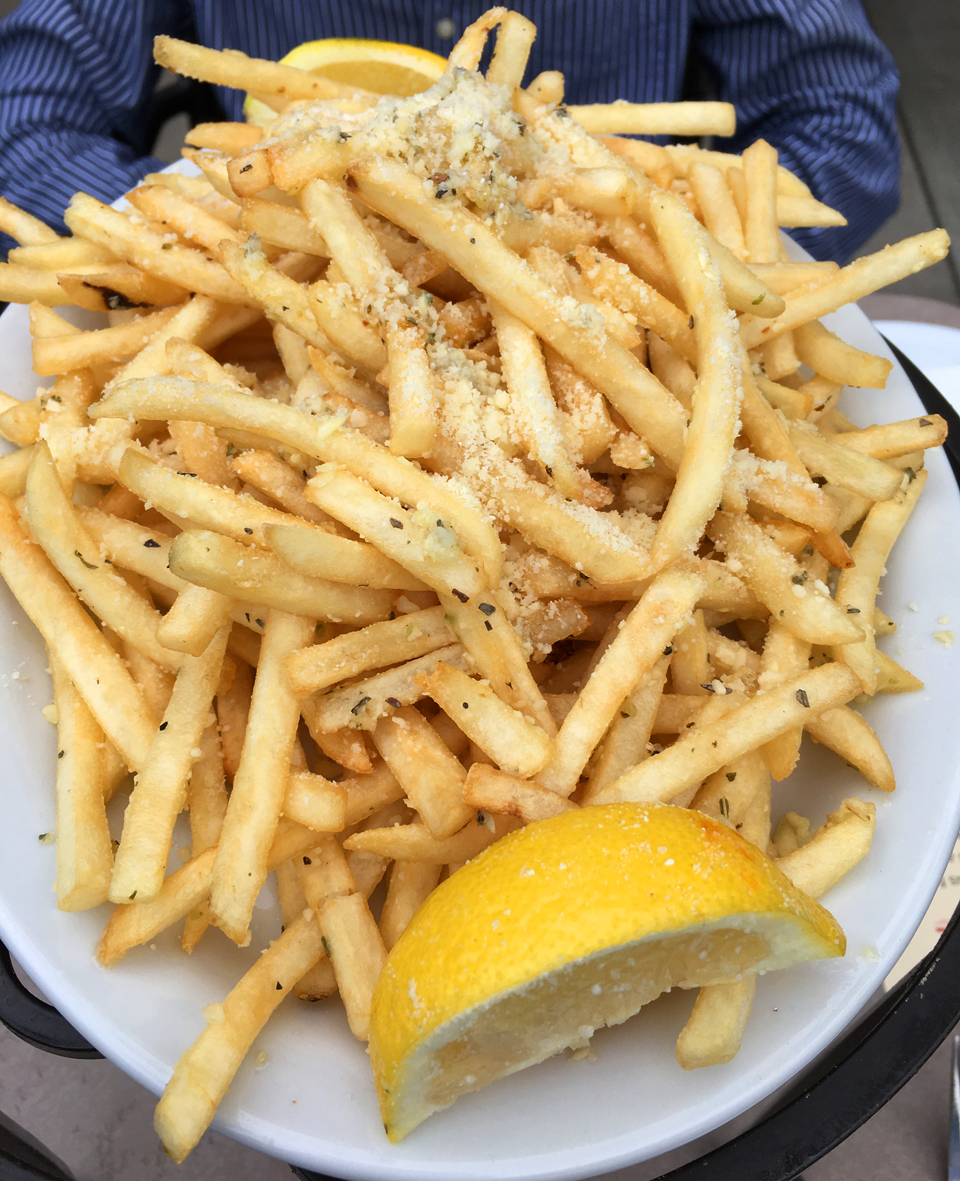
But back to the food we ordered! For our appetizer, we chose the Garlic Fries. Not really something on the diet plan, but a treat to share with Andy and always very tasty/crispy/herby/garlicky. In true Greek fashion, they are served with lemon. Super good. Diet Gods, I am so sorry. 😉
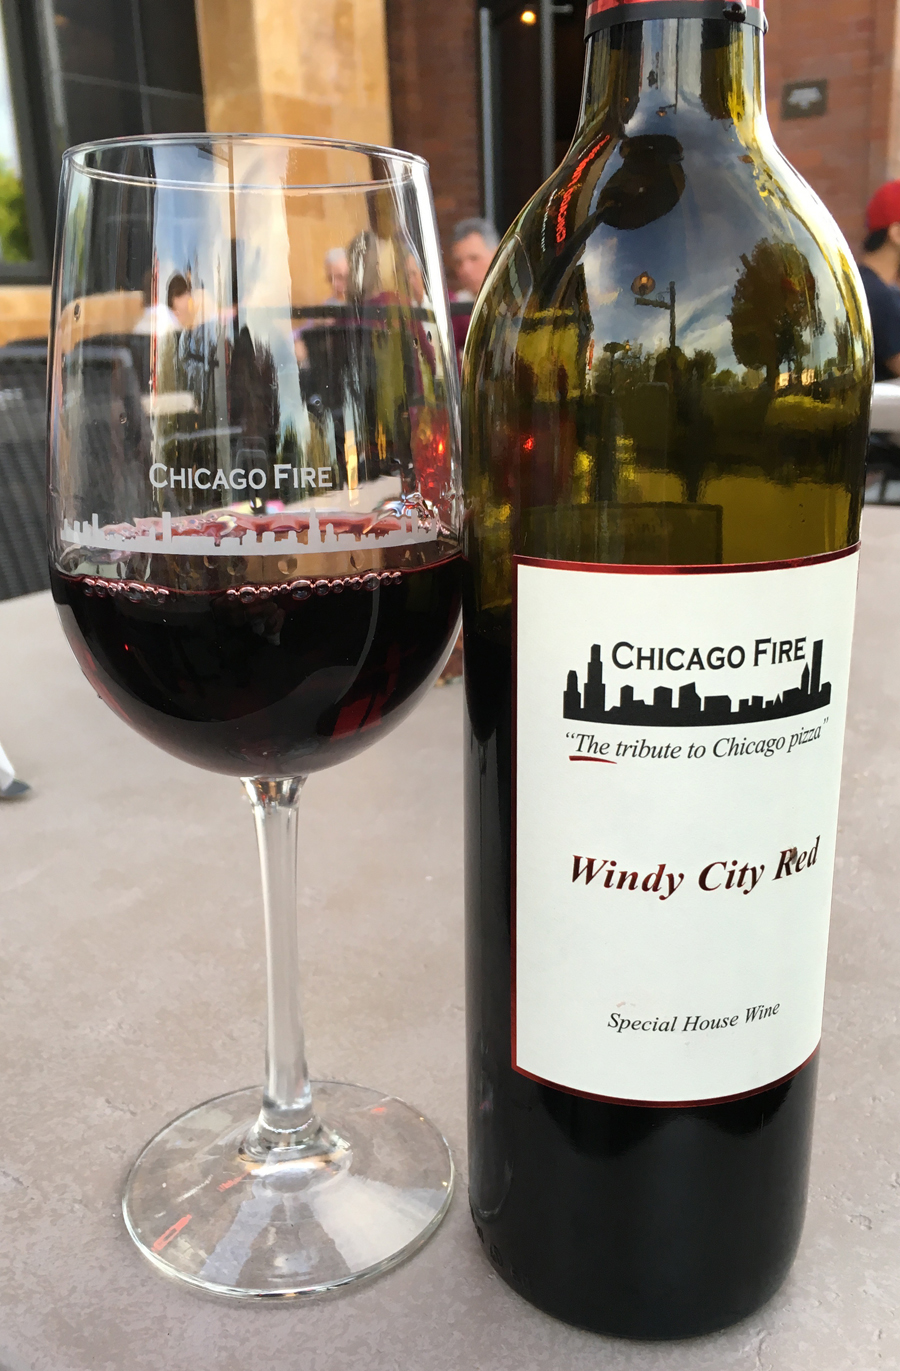
We ordered a few starter glasses of wine, but afterwards ordered this bottle of Windy City Red. It’s a wine produced solely for the Chicago Fire restaurants by Boeger Winery. It’s one of their less expensive wines and a very good value. It’s also a great pairing for anything on the menu with red sauce or any pizza that has meat on it!
Our salad came next and we chose the Pesto Chicken Salad. It’s my favorite salad at Chicago Fire. My second favorite is the Greek Salad, but I can’t resist the pesto dressing. Plus, the chicken on the Chicken Pesto Salad is grilled to perfection, and then there’s all those big cheese shavings on top. I almost wanted to take the salad for myself and leave the pizza for Andy!
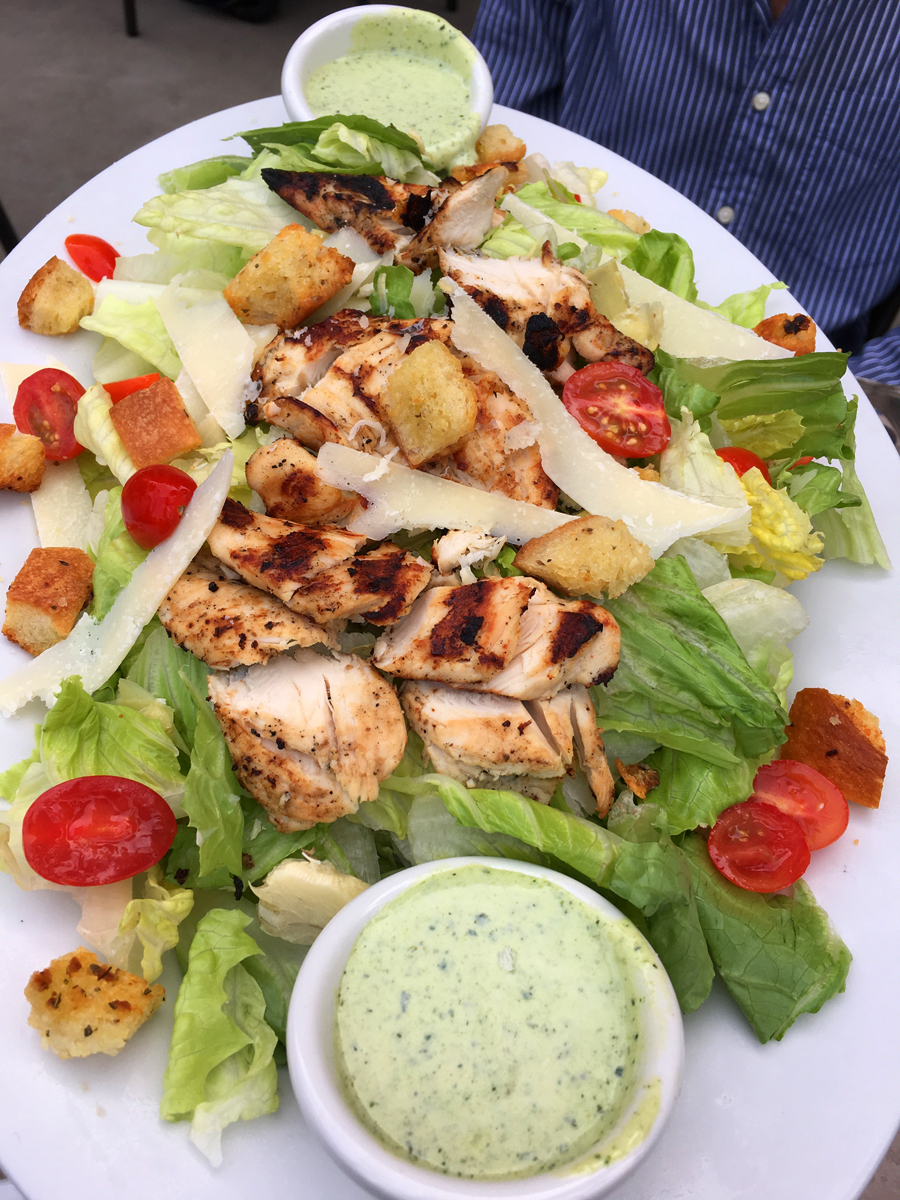
Typically, I try to load my plate with greens such as the salad above, and then maybe have 20% of the main course. That way, I have had a lot of fiber, vegetables, etc., and gotten mostly full before I move on to the next course.
Chicago Fire serves a gluten free version of most of the pizzas on their menu. This one is called the Stockyard. If you order gluten free it only comes in one size, but that is OK because with the appetizer and large salad, it was a perfectly shareable size between Andy and myself. The stockyard is a deliciously meat-loaded pizza featuring garlic sausage, pepperoni, salami and Canadian bacon. And of course we got the gluten free crust. I also always order a side of marinara, because I love to dip my pizza crusts in the sauce.

Andy enjoyed an ice cream with caramel sauce, but I decided to pass. Instead, I walked around and took a few more pictures of the interior of the restaurant.
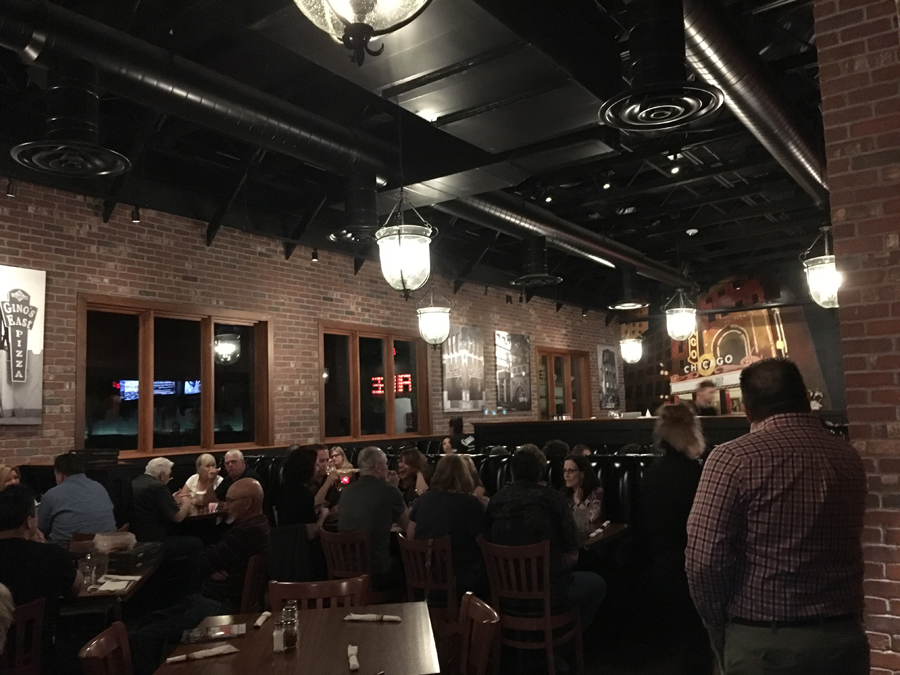
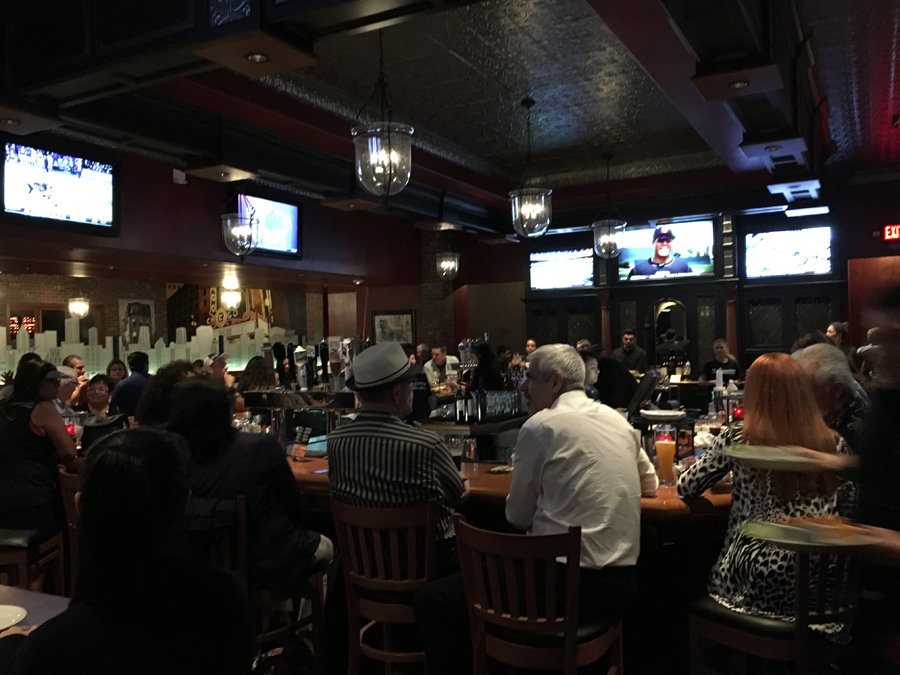
As of all the previous visits we’ve had at Chicago Fire, I would call it consistent and very enjoyable. The difference was the great new location, the fun outdoor experience and the well-landscaped area around the restaurant.
You can find Chicago Fire on Facebook here, on Twitter here and on Instagram here. Be sure to check out the newest location in Elk Grove now open for lunch and dinner!
Gluten Free Menu Shines at Siino’s Pizza, Pasta and Grill in Lincoln

A few weeks ago, Andy and I visited a restaurant in Lincoln called Siino’s Pizza, Pasta & Grill. We were originally going to sample the gluten free pizzas as a part of National Pizza Month in October, but instead we decided to go with other items on the gluten free menu.
Siino’s story began in February 2011, when Annalisa Siino opened the doors of her first restaurant as a franchisee. When Annalisa took over, the restaurant was an Original Pete’s, and in just three years Annalisa turned it into her own community establishment and gave it her own name: Siino’s Pizza, Pasta & Grill. The rebranding took place in May of 2014.
Siino’s concept is to partner with local growers and feature their produce/products within the new menu. The menu also includes baked goods from Divine Desserts in Loomis, and hand-crafted brews from Loomis Basin Brewing Company & Roseville Brewing Company.
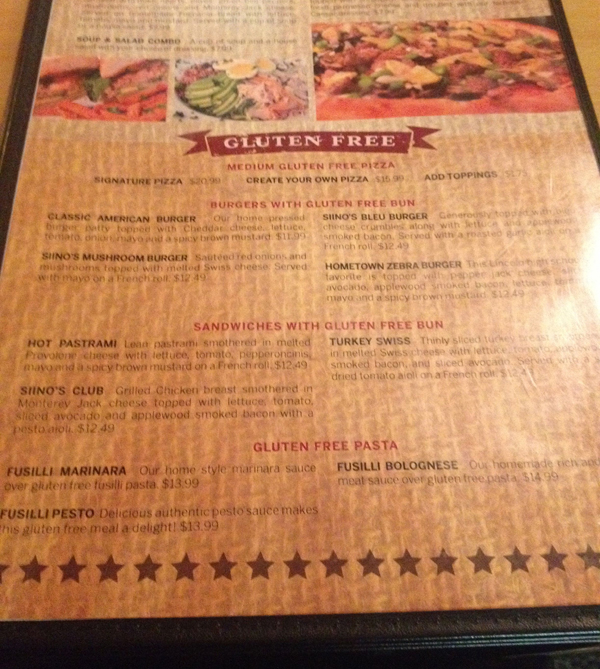
But back to that great gluten free menu. I am not sure of the inspiration for that, but I was pleased to see a restaurant with a whole section of their menu devoted to gluten free items. Patrons can order pizza, burgers and pasta sans gluten.
Siino’s also has a succinct and approachable wine list and an even more impressive beer selection. They offer a happy hour from 2-5pm, and an all day happy hour on Mondays, with a $1 off pints and $2 off wine by the glass. Then there is Wine Wednesday, that involves half off bottles and $2 off glasses of wine. Sign me up for that! 🙂
We chose a bottle of 2011 Chateau St. Jean Merlot, because of its versatility. We decided within a few minutes of looking at the food menu, we were going to both order a burger, so this wine was appropriate.

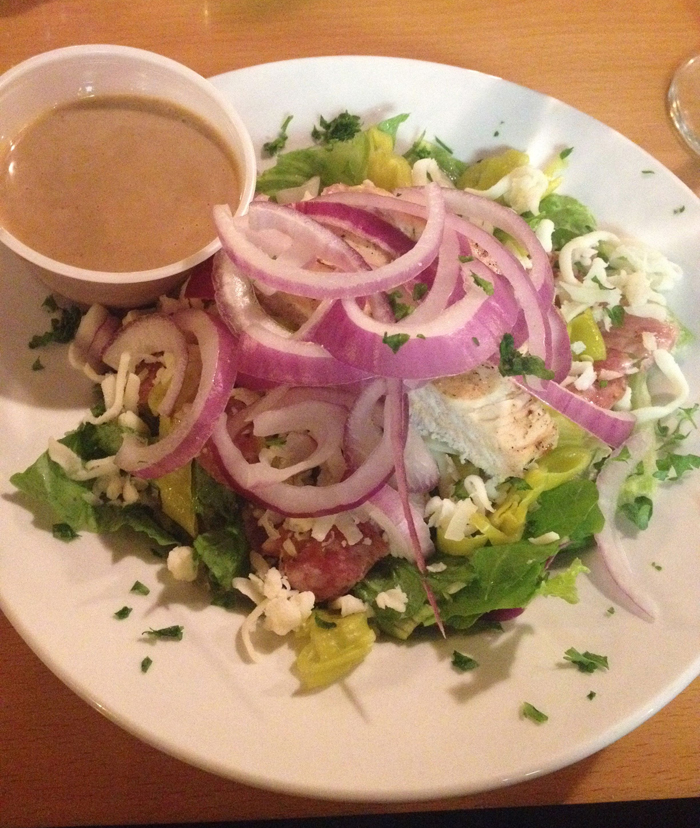
Our “appetizer” was a salad— the Balsamic Chicken salad. The salad was composed of mixed lettuce with grilled chicken, julienned salami and mozzarella cheese, red onions, roasted bell peppers and pepperoncinis. It was served with balsamic vinaigrette (easily ordered on the side). Another note: the picture below depicts half of the serving. The kitchen staff kindly split the salad between the two of us.
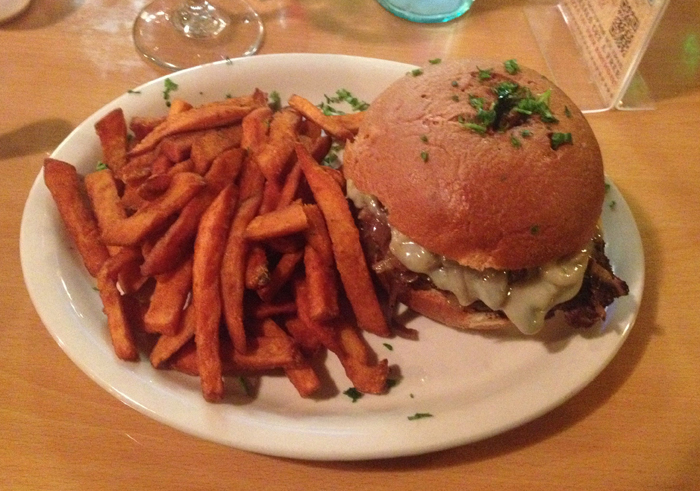
I loved the local touch on the menu of the Zebra Burger (lovingly named after the Lincoln High School mascot), so I ordered it. It came topped with pepper jack cheese, sliced avocado, applewood smoked bacon, lettuce, tomato, mayo and a spicy brown mustard.

Andy ordered Siino’s Mushroom Burger with sautéed red onions and mushrooms topped with melted Swiss cheese. I actually liked this burger more than the Zebra burger. The mushrooms and the Swiss cheese were an incredible combination. We both enjoyed sweet potato fries with our burgers. Sweet potato fries were a nice touch and an interesting alternative to regular fries.
Siino’s has many great characteristics as a restaurant: a very local gem, family friendly, great beer selection, fun wine list, lots of gluten free options, and I did not mention this previously, but the service at the restaurant was also very good. My only suggestion is for Siino’s to incorporate some local wineries into their wine list, since they are already using local purveyors for their produce.
Thanks to the servers and management team at Siino’s for a fun Friday evening. You can find Siino’s Pizza, Pasta & Grill on Facebook here and on twitter here.
National Pizza Month: Gluten Free Options Galore at California Pizza Kitchen!

Happy National Pizza Month!! Yes, October is National Pizza Month, and to celebrate, Andy and I are selflessly sacrificing being strict Paleo 😉 to try out some gluten free pizza options available in the area.
I can’t think of a more iconic place to begin the celebration than California Pizza Kitchen!
It’s been about 6 months since the renovation of California Pizza Kitchen at Arden Fair. This location of California Pizza Kitchen features The Next Chapter menu–updated with fresh and exciting dishes. We were invited to the event along with other local writers and were so impressed by the improvements that I decided I should eventually do a solo feature on their gluten free menu.
Of course, gluten free is a growing trend and a tasty gluten free pizza is in high demand. Especially for a pair of distance runners like Andy and me! 🙂
Here’s are the pizzas that now come gluten free (including the CPK classic BBQ Chicken pizza:
Andy and I decided to order two salads and two pizzas. Hey, I had planned (and completed) a 10 mile training run the next day! 🙂
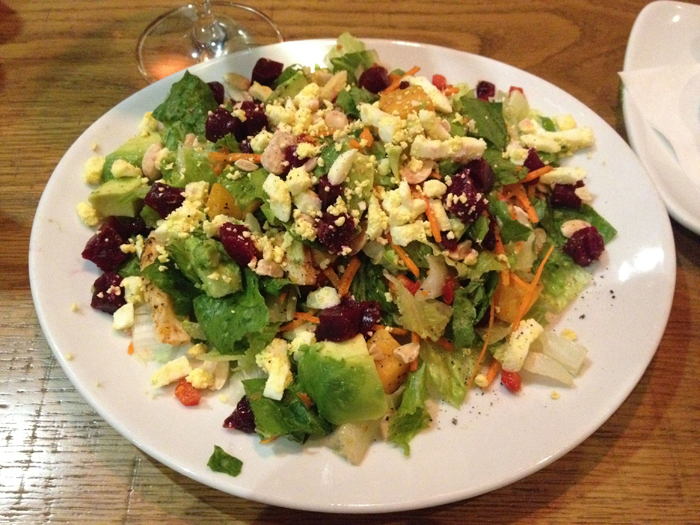
There are several salads on California Pizza Kitchen’s menu that are gluten free. We chose the Cobb Salad: Nueske’s applewood smoked bacon, avocado, chicken, tomatoes,
chopped egg, beets, fresh basil and Gorgonzola with housemade bleu cheese dressing (on the side). OK, so I love Cobb Salad and pretty much order it whenever possible. I have said in the past that a Cobb might possibly be my choice for last meal on Earth. I know that might sound a little odd, but the combination of chicken, avocado, bacon, and blue cheese crumbles is pretty much my favorite thing. New pizza variety perhaps? 😉

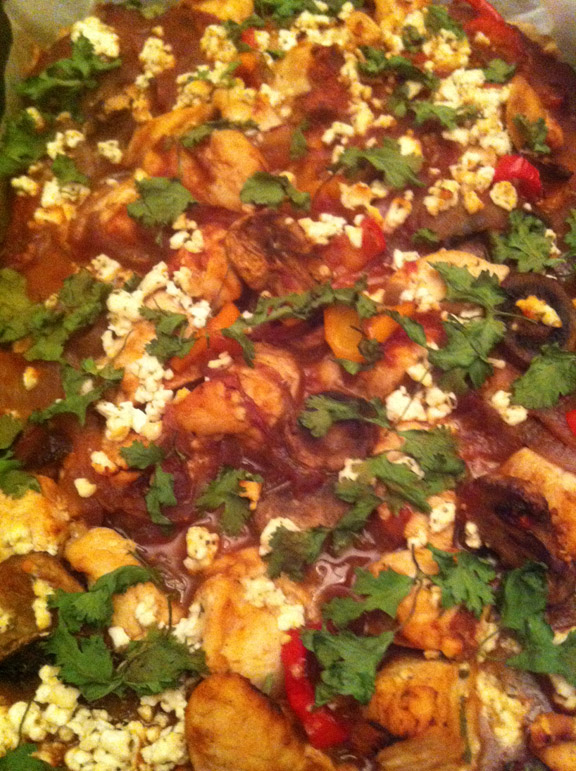
We also tried the Moroccan Spiced Chicken Salad with Roasted butternut squash, dates, avocado, toasted almonds, beets, red peppers, chopped egg, cranberries, and tossed with housemade Champagne vinaigrette.
The Morroccan Spiced Chicken salad was a refreshing take on a dinner salad. I loved the fall notes (cranberry) with the perfectly cooked butternut squash. The salads we ordered were the smaller size on the menu, so I can assure you, the portions are very generous.
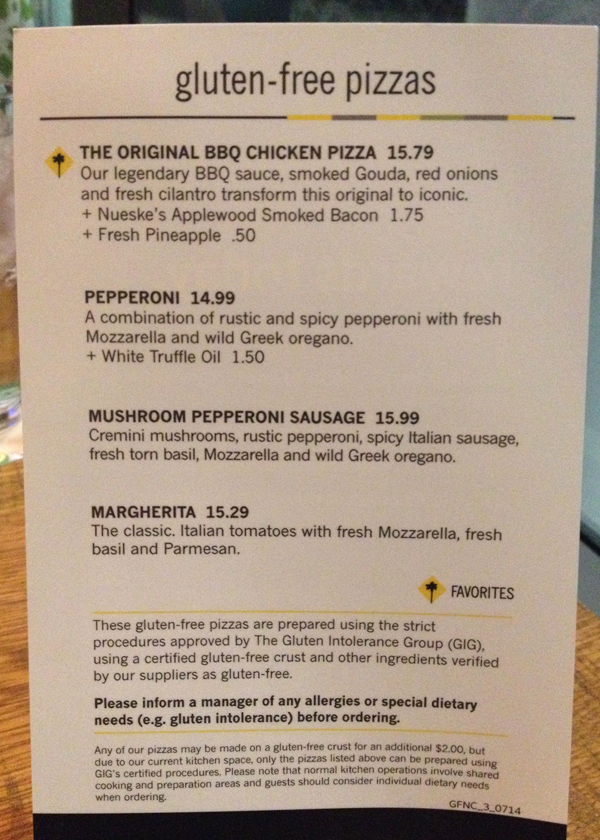
Speaking of generous portions, the pizzas came out next! We ordered the Margarita pizza with Italian tomatoes with fresh Mozzarella, basil and Parmesan. Now, I haven’t had real pizza dough in as long as I can remember, but I have had about 10-20 different gluten free doughs since adopting a gluten free diet 3 1/2 years ago. I was pretty impressed with the texture and chew of the dough and the almost crispy edges of the crust. I also liked the sauce and cheese ratio on the pizza–as in, there was plenty of it! (See the slice on the lower right with the extra tomato? Mmmm. That’s the first slice I took! Sorry, Andy!)

And because we are meat lovers, we couldn’t pass up the Mushroom Pepperoni Sausage pizza with Cremini mushrooms, rustic pepperoni, spicy Italian sausage, fresh torn basil, Mozzarella and wild Greek oregano. I loved the huge chunks of sausage on this pie. Andy liked the fact that the pizza was cut into real wedges as opposed to squares. I was just having fun eating pizza with my best friend, no matter how you slice it. Pizza is something we just don’t get to have a lot of anymore, so it’s a pleasure to find a good gluten free alternative.

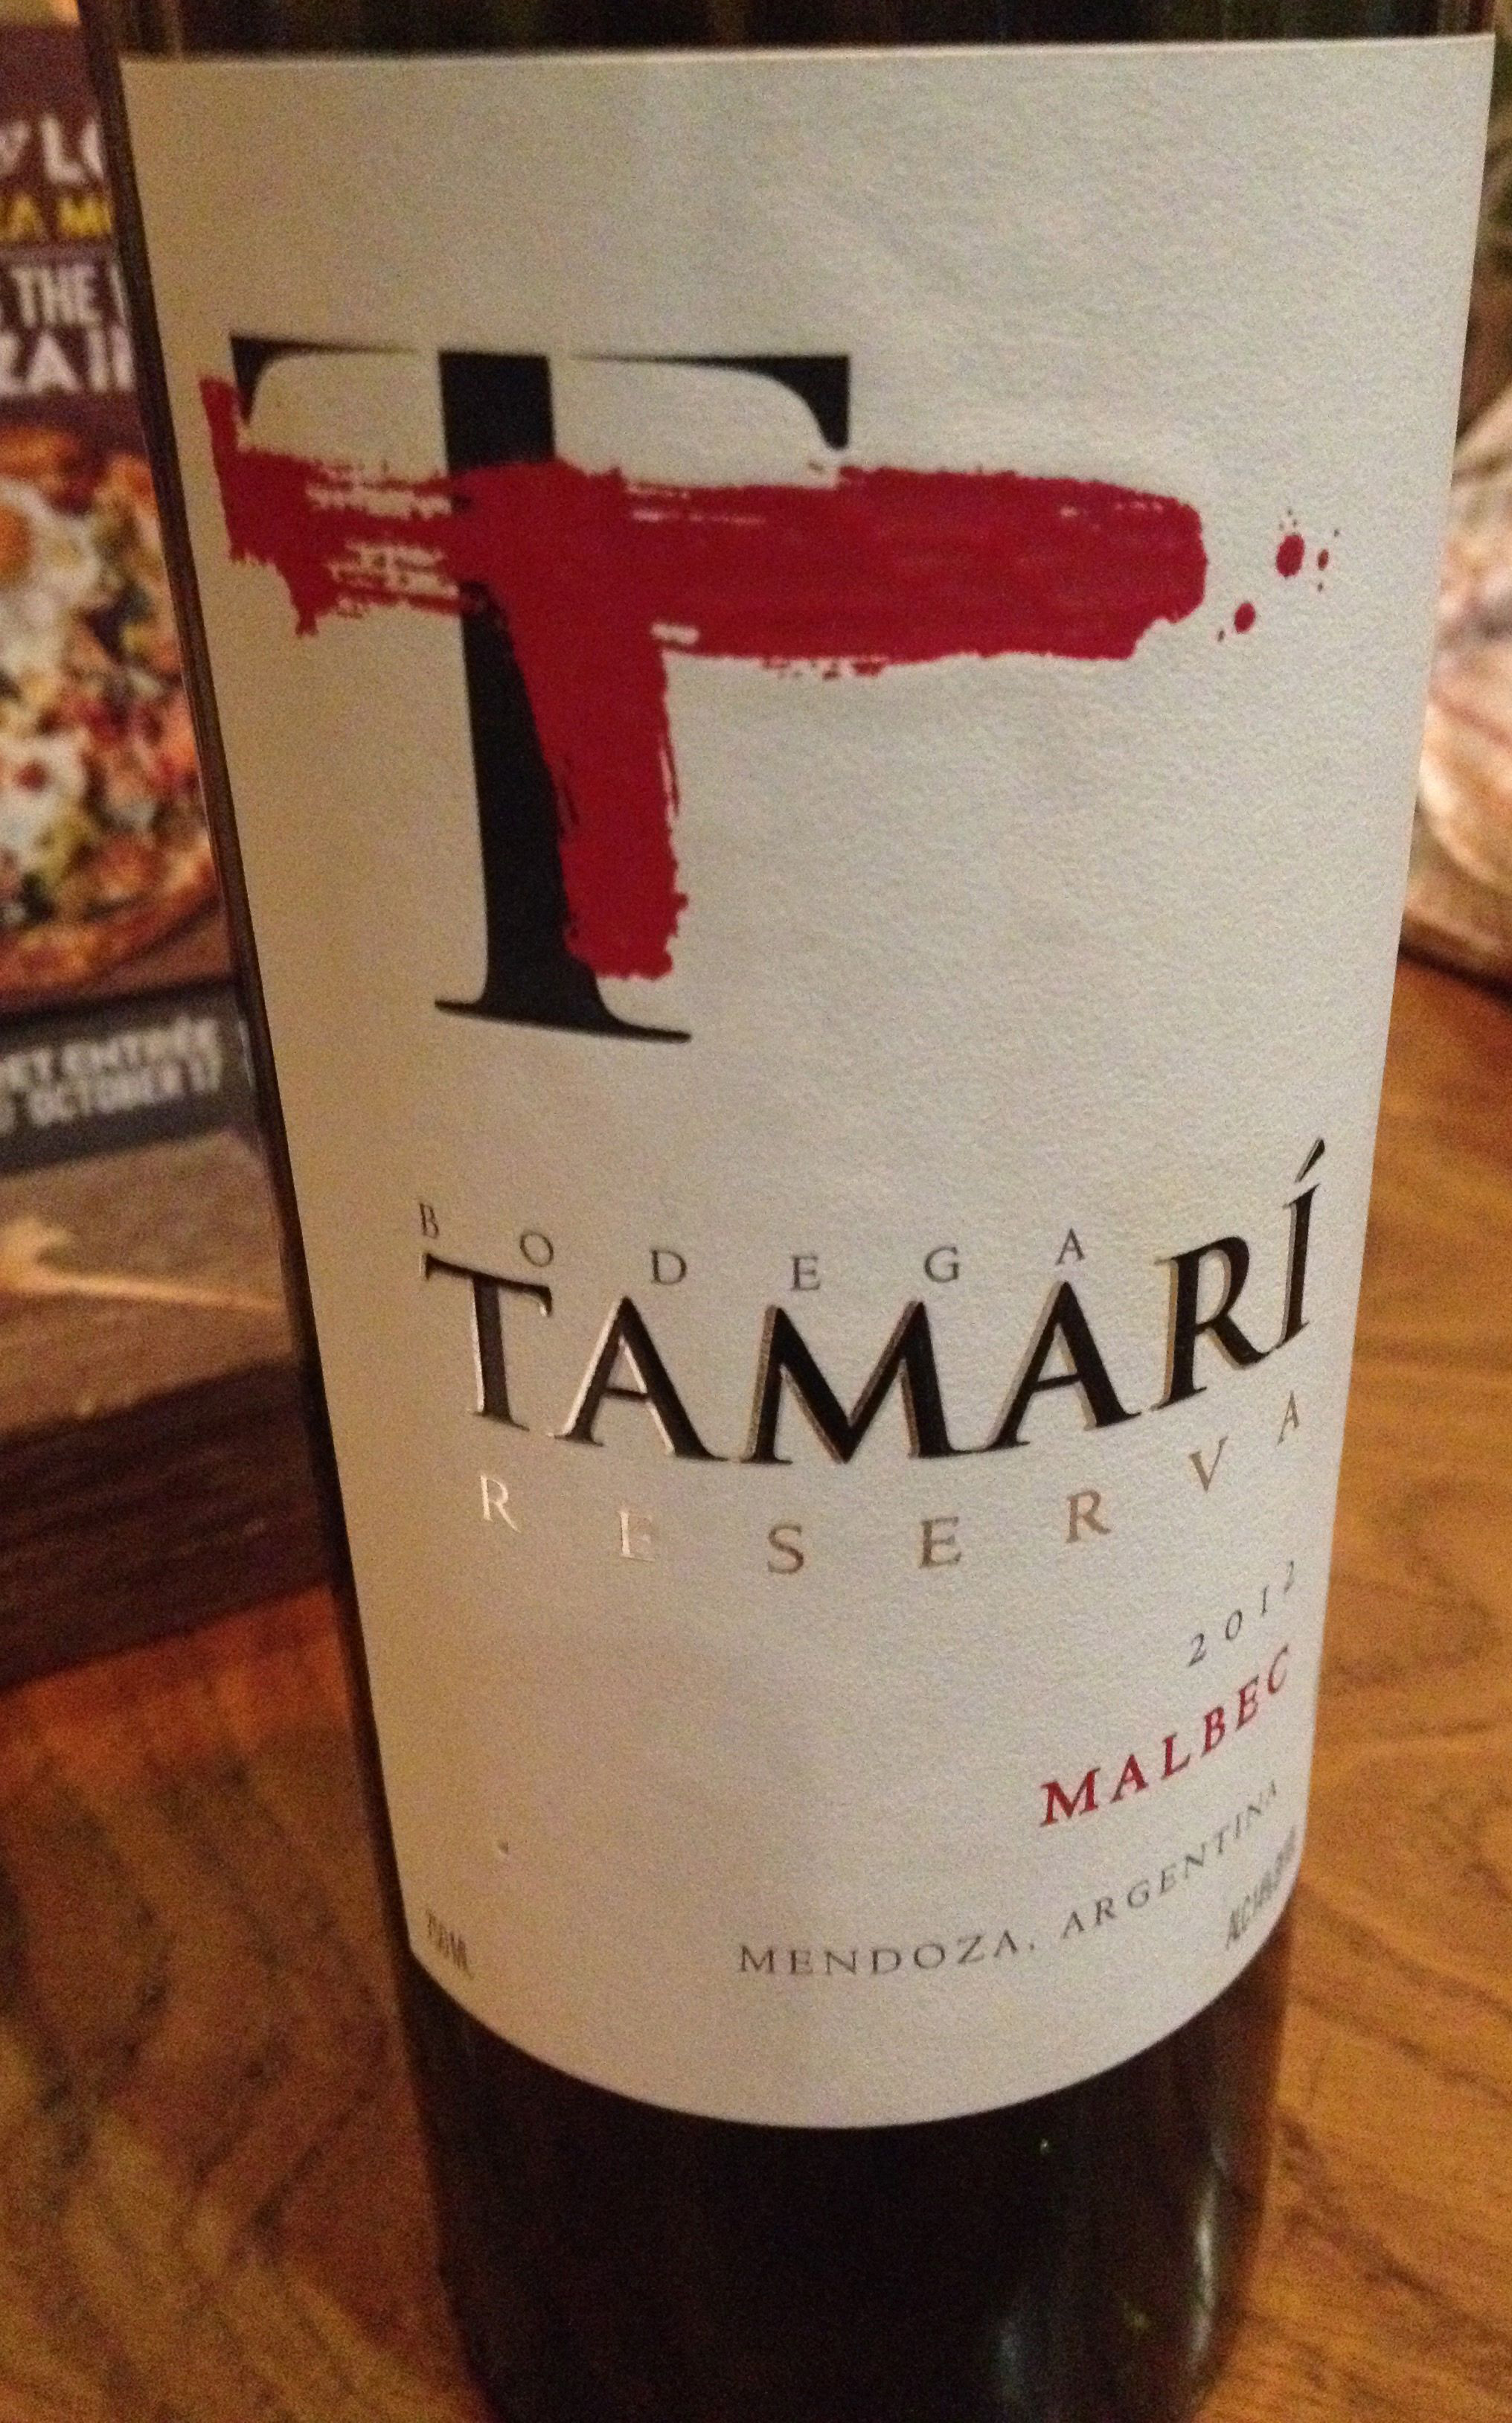
For our wine pairing, we ordered a Malbec from Mendoza, Argentina. A reasonably priced, full bodied red wine that reminded me more of a Cabernet. That was not an insult to wine, because typically a Cabernet is a finer wine than Malbec. Andy is always puzzled by my wine tastes and why I like a cheaper Malbec, but my taste in Cabernet is ultra expensive. 🙂 Bodega Tamarí is part of Viña San Pedro Tarapacá, Chile´s second largest group in the wine industry, selling over 27 million cases of wine yearly and exporting wine to 80 countries worldwide.
I really loved the gluten free pizza at California Pizza Kitchen and I am so happy this restaurant is now giving gluten free people an option besides salad. With the revamped menu and new choices available along with the updated interior, California Pizza Kitchen is a perfect choice for parties or large groups of people. There’s really something for everyone on the menu and it no longer feels like a cafeteria inside the restaurant. Everything on the menu is reasonably priced, making it a good spot for family night out or even a first date.
California Pizza Kitchen has also recently begun a rewards program called Pizza Dough. For every $100 you spend, you get $5 in rewards, redeemable on your next visit. Also, as an incentive to join the program, you get a FREE small plate when you register.
Special thanks to the marketing team I worked with to produce this piece and to Brendon, the Assistant General Manager of California Pizza Kitchen at Arden Fair. I’ll have to try some of those New Zealand Pinot Noirs you told us about. 🙂
You can find California Pizza Kitchen on Facebook here and follow them on twitter here.
Gluten Free BBQ Chicken Pizza featuring Colman’s Mustard
Sometimes you just need to eat a pizza. Like, damn.
The crust for this pizza was made with Bella Gluten-Free Pizza Dough, Rolls and Focaccia Mix, which contains rice flour, potato starch, sorghum flour, tapioca flour and xanthan gum, so it’s not Paleo, but is a much healthier wheat crust alternative. It gives the crust such a close-to-the-real-thing texture, but you can omit the mix and just use cauliflower and cheese and eggs, but like… it just won’t be very close to real CRUSTY goodness. 😦
But this will:
Crust:
1/2 package Bella Gluten-Free Pizza Dough, Rolls and Focaccia Mix
5 eggs
1 head cauliflower
1 tsp salt
1/4 cup of shredded parmesan cheese
Line a pizza pan with parchment paper and preheat oven to 385°F.
Follow Bella Gluten-Free Pizza Dough package directions for 1/2 the package. Steam cauliflower in the microwave until it is “falling apart” tender. Allow to cool. Pulse the cooled cauliflower in your food processor with the rest of the ingredients until they are well combined.
Spread onto lined pizza pan and place in oven to bake until raised and slightly browned. Meanwhile, prepare the BBQ sauce! When your crust does become slightly browned, you will want to remove from oven, but keep oven on, as you will be using it again to bake the pizza after you top the crust.
Now make the BBQ Sauce!

BBQ Sauce Ingredients (adapted from Mark’s Daily Apple BBQ Sauce Recipe):
1/3 cup (about 3 ounces) tomato paste
1/2 cup tomato sauce
1/2 – 1 teaspoon hot sauce
1 – 2 tablespoons honey
2 – 3 tablespoons apple cider vinegar
1/2 teaspoon Colman’s mustard
2 tablespoons water
1⁄4 teaspoon ground allspice
1⁄4 teaspoon ground cinnamon
1⁄4 teaspoon ground black pepper
1⁄2 teaspoon chili powder
1⁄2 teaspoon paprika
1/2 teaspoon onion powder
In a small bowl mix together tomato paste, butter, hot sauce, honey, vinegar, mustard and water. In another small bowl mix together allspice, cinnamon, pepper, chili powder, paprika and onion powder. Mix the spices in with the wet ingredients. OK. There you go.
Spread on half baked pizza crust and then top with your favorite toppings. This time, I did mushrooms, onions, and chicken (tossed in a little of the BBQ sauce and whatnot).
Then bake until it’s all browned and bubbly like. Come on, I know you have enough common sense to figure it out! 😉 xoxo
Drink some fine Milan Ruz with the pizza! Cheers!

Gluten-Free Chicken Pesto Pizza featuring Bella Pizza & Foccacia Mix
Andy and I always celebrate our monthaversary with a special dinner (either at a restaurant or by either of us cooking something that we don’t indulge in everyday). This month, I made one of Andy’s favorite foods and one of the things he used to eat most before going Paleo. Pizza! We both love pesto, but just don’t eat it that often either because it’s usually found on top of bread or pasta. Both no-nos of course. So we compromised with a rice and potato-based gluten-free mix and cauliflower blend for the crust. This time, I used Bella Gluten-Free Pizza Dough, Rolls and Focaccia Mix.
Bella Gluten-Free was founded by Mary Capone, who I had the pleasure of meeting at the Gluten & Allergen Free Expo last month, and who is also a celiac chef and mom of celiac children. She wanted “to create baking mixes that were beautifully tasting, heavenly in texture and wonderfully nutritious.” I have to say that of all the pizzas/crusts at the Gluten & Allergen Free Expo, Mary’s was the best. And that’s coming from Andy Harris, who basically subsisted on two food groups–pizza and beer!!–during his span of running 23 marathons. 😉 Andy selflessly (haha!) tasted over 5 slices of pizza at the show to bring you the report back. I did get to try the Bella Gluten-Free Mix at the show and was so impressed I wanted to feature it here on cavegrrl.com, despite its rice base. I think it’s a great product, and the bottom line is that it doesn’t have wheat.
So here’s what I did to make the pizza! PS: About the pizza I made with this mix, Andy said: “I ate the rest of that pizza today, and I swear it was the best pizza I’ve
ever eaten. That was wicked!!!”
FYI: One package of Bella Gluten-Free Pizza Dough, Rolls and Focaccia Mix makes two 14” pizzas or two 9” focaccia or 12 hamburger or sandwich buns.
Crust:
1/2 package Bella Gluten-Free Pizza Dough, Rolls and Focaccia Mix
2 tsp Mayacamas Gluten-Free Pesto Mix
5 eggs
1 head cauliflower
1 tsp salt
1/4 cup of shredded parmesan cheese
Line a pizza pan with parchment paper and preheat oven to 385°F.
Follow Bella Gluten-Free Pizza Dough package directions for 1/2 the package. Steam cauliflower in the microwave until it is “falling apart” tender. Allow to cool. Pulse the cooled cauliflower in your food processor with the rest of the ingredients until they are well combined.
Spread onto lined pizza pan and place in oven to bake until raised and slightly browned. Meanwhile, prepare your pesto topping! When your crust does become slightly browned, you will want to remove from oven, but keep oven on, as you will be using it again to bake the pizza after you top the crust.
Pesto:
1/4 cup walnuts
1/4 cup pistachios
1/4 cup pignolis (pine nuts)
3 tablespoons minced garlic
4 cups fresh basil leaves, packed
1 cup fresh spinach leaves
1 teaspoon kosher salt
1 teaspoon freshly ground black pepper
1 cup extra virgin olive oil (do not skimp on quality here!)
1 cup freshly grated Parmesan cheese
Place the nuts and garlic in your food processor. Pulse together until the texture is slightly grainy. Add the basil leaves, salt, and pepper. With the processor running, slowly pour the olive oil into the bowl through the feed tube and process until the pesto is thoroughly puréed. Add the Parmesan cheese and puree until well combined.
Topping:
1 Tbs olive oil
1 tsp salt
1 red onion
1 1/2 cups mushrooms
2 chicken breasts (4 oz each)
2 Tbs balsamic vinegar
Slice onion and sauté it in a heated skillet with the olive oil. Add the salt and the mushrooms. Cut the chicken into bite-sized pieces. Once the onions are translucent, add the balsamic vinegar and cook a little further. Then add the chicken and cook until it is browned. Turn off stovetop and allow to rest.
Assemble the pizza:
Grate as much mozzarella as you like (we used about 1 cup)
Spread the pesto evenly on the the pizza crust, and top with the chicken, onion, mushroom mixture. Then top with the mozzarella cheese.
Return the pizza to the oven and bake for another 10 minutes, allowing the cheese to melt and the toppings to heat through.
Remove from the oven and allow to rest 5-10 minutes before serving. If you can wait that long… 🙂
Wine pairing: Sangiovese from Vino Noceto (with the pizza) and an Assyrtiko from Gaia Estate, Santorini, Greece (with the salad). PS: On our salad, we’re still loving extra virgin olive oil and the Auntie Si’s Lemongrass Vinegar!
Artichoke Pizza with Bacon, Chicken, & Pesto Dipping Sauce

Pizza? Yes. It’s all Paleo. The crust is made of cauliflower and almond. Before you shake your head and walk away, just try it. 🙂
So this is sort of a long recipe, but it’s highly worth it.
I promise you it tastes better than real pizza and you will get full on 2 pieces rather than eating 4 or 5 from a delivery joint.

Artichoke Pizza with Bacon, Chicken, & Pesto Dipping Sauce
8 ounces cooked and diced chicken
4 slices thick cut bacon, chopped into bite-sized pieces
1/2 cup sautéed bell peppers
1/2 cup cooked onions
1/2 cup cooked mushrooms
So, before you begin the crust or the sauces, I highly recommend you sauté the onions, mushrooms, and bell peppers in some olive oil and garlic and pre cook them before you use them as toppings on this gorgeous thing I call a pizza. You can cook the chicken however you want (grill it for the best results)… and the bacon will do just fine in the microwave or in the oven baked on parchment paper.
Now that you have your toppings mise en place, you can begin to prepare the crust:
Crust:
2 cups almond meal
1/4 cup coconut flour
1/8 cup ground flax seed
1 1/2 cups cauliflower, cooked and pulsed into couscous-like consistency
2 eggs
3 tbsp olive oil
1 tsp garlic powder
1 tsp onion powder
1 tbsp fresh rosemary chopped
Place all ingredients in a large bowl and mix with hands until well combined.
Press into a well-oiled baking pan and then bake in pre heated oven for 15 minutes while you prepare the artichoke spread and the pesto topping/dipping sauce.
Artichoke Spread (this will be one of the pizza “sauces”)
1/3 cup pitted green olives
2 15-oz cans/jars artichoke hearts, drained
1 Tbsp capers, drained
2 tbs crushed garlic
1 Tbsp fresh parsley
1/8-1/4 tsp red pepper flakes
Pulse all ingredients in a food processor and set aside.
This spread can be used as a “hummus” type dip for vegetables, or as the first layer of spread on this pizza.
Red Sauce
This is the only step where I took a little teeny shortcut.
I used an organic pasta/tomato sauce in a thin layer over the artichoke spread before I topped the pizza with the cooked toppings and about 3/4 cup of shredded parmesan cheese.
When you have all your toppings on the pizza, put it back in the oven and bake until the pizza is warmed through and the cheese is melted and golden brown.
Then, remove it from the oven and allow to cool slightly before topping it with dollops of the homemade pesto.
Pesto Topping
2 cups fresh basil leaves, packed
1/2 cup freshly grated Parmesan-Reggiano or Romano cheese
1/2 cup extra virgin olive oil
1/3 cup pine nuts or walnuts
3 medium sized garlic cloves
Salt and pepper to taste
Pulse all ingredients in a food processor and set aside. You will use this “topping” on the pizza after it comes out of the oven and you are ready to eat it.
Ding! It’s not delivery… it’s Paleo… 😉